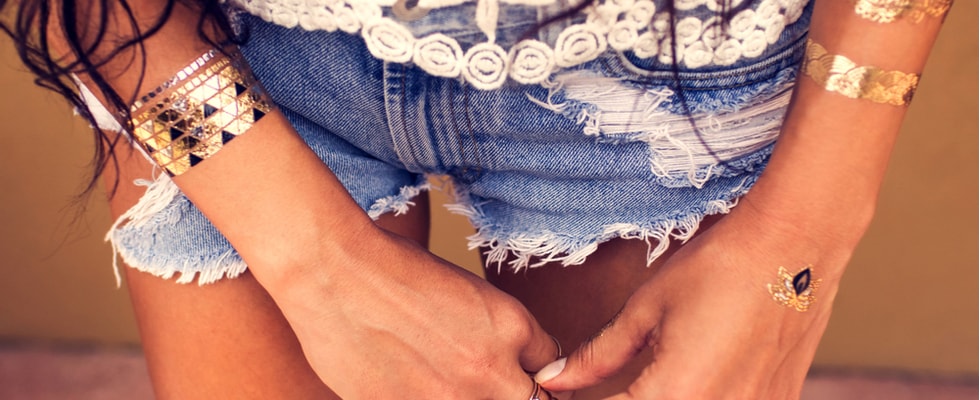
Everyone hates tan lines, but what about tan lines you make on purpose? I’m talking about tanning stickers, of course. If you haven’t heard of tanning stickers before, and are wondering they are, they are, just as the name implies, stickers that you place on your skin to keep a portion of it from tanning.
When you remove the sticker, you will have created a tattoo-like effect on your skin. Except, of course, tanning stickers create a temporary mark that is the same color as your skin was when you applied it to your body.
You can use several stickers to create a design, such as falling stars, or just one for a more subtle look. They are safe, painless, and make a cute embellishment that is sure to get you noticed.
Make Your Own Tanning Stickers
If you want to make your own tanning stickers or tanning tattoo, you can use basically anything that will cover the space you want to leave untanned. However, there are some methods that work better than others.
Find a die cut sticker in a shape you like. Die cut stickers tend to have unique shapes. Common choices are stars, crosses, ankhs, or a pair of lips. Basically, anything that will leave a recognizable shape. You can also make your own sticker. Get some sticker paper and draw or trace the shape you want. Or use a stencil. Then cut it out.
If you are brave and have a steady hand, you can just cut out the shape you want in duct tape. The easiest way is to cut a piece of duct tape that is a little bigger than what you need and fold it in half, sticky side out. That is, the non-sticky sides are next to each other so that your sticker doesn’t stick to itself. Then place half of your stencil or pattern on the duct tape and cut around it. Unfold and apply immediately to your skin.
As a last resort, you can always create a tanning sticker effect by drawing a pattern on your skin with nail polish. This takes a steady hand and a bit of experience. The nail polish shields the skin under it from your self-tanner. You can easily wash off the nail polish when you rinse off your tanner.
How to Use Your Tanning Stickers?
Once you’ve made your stickers, put them on your body before applying a sunless tanning lotion. Clean and dry the area where you want to put your sticker, then:
- Put the sticker on your skin.
- Apply self-tanner, being careful not to get any under the sticker.
- Leave the sticker on until you have finished tanning.
- After your tan has developed remove the sticker.
Benefits of Tanning Stickers
Many tanners consider tanning stickers as a way to create stunning body art and show off their tans. But in addition to being decorative, tanning stickers are also functional.
Tanning Stickers as Decorative Body Art
When you make your own tanning stickers, you can create a wide range of designs, from simple hearts and dolphins to winged birds flying across your back. It brings attention to your beautiful, glowing skin and makes you stand out from the crowd. It’s like a tattoo but with no commitment. Since the pattern becomes less noticeable as your tan fades, you can change the design whenever you wish to.
Tanning Stickers as Comparison Guides
But tanning stickers are more than decorative, they are also functional. They are an easy way to see the differences in your skin pre- and post-tan. Since the skin under the sticker keeps in natural color, you can compare it to the skin you have self-tanned and see how dark you have gotten. You can both see how your self-tanner builds color and see when you’ve achieved the level of tan you want. All in all, tanning stickers are a fun way to show off your tan.


